Caramelized Onion Jam
Ronna Welsh
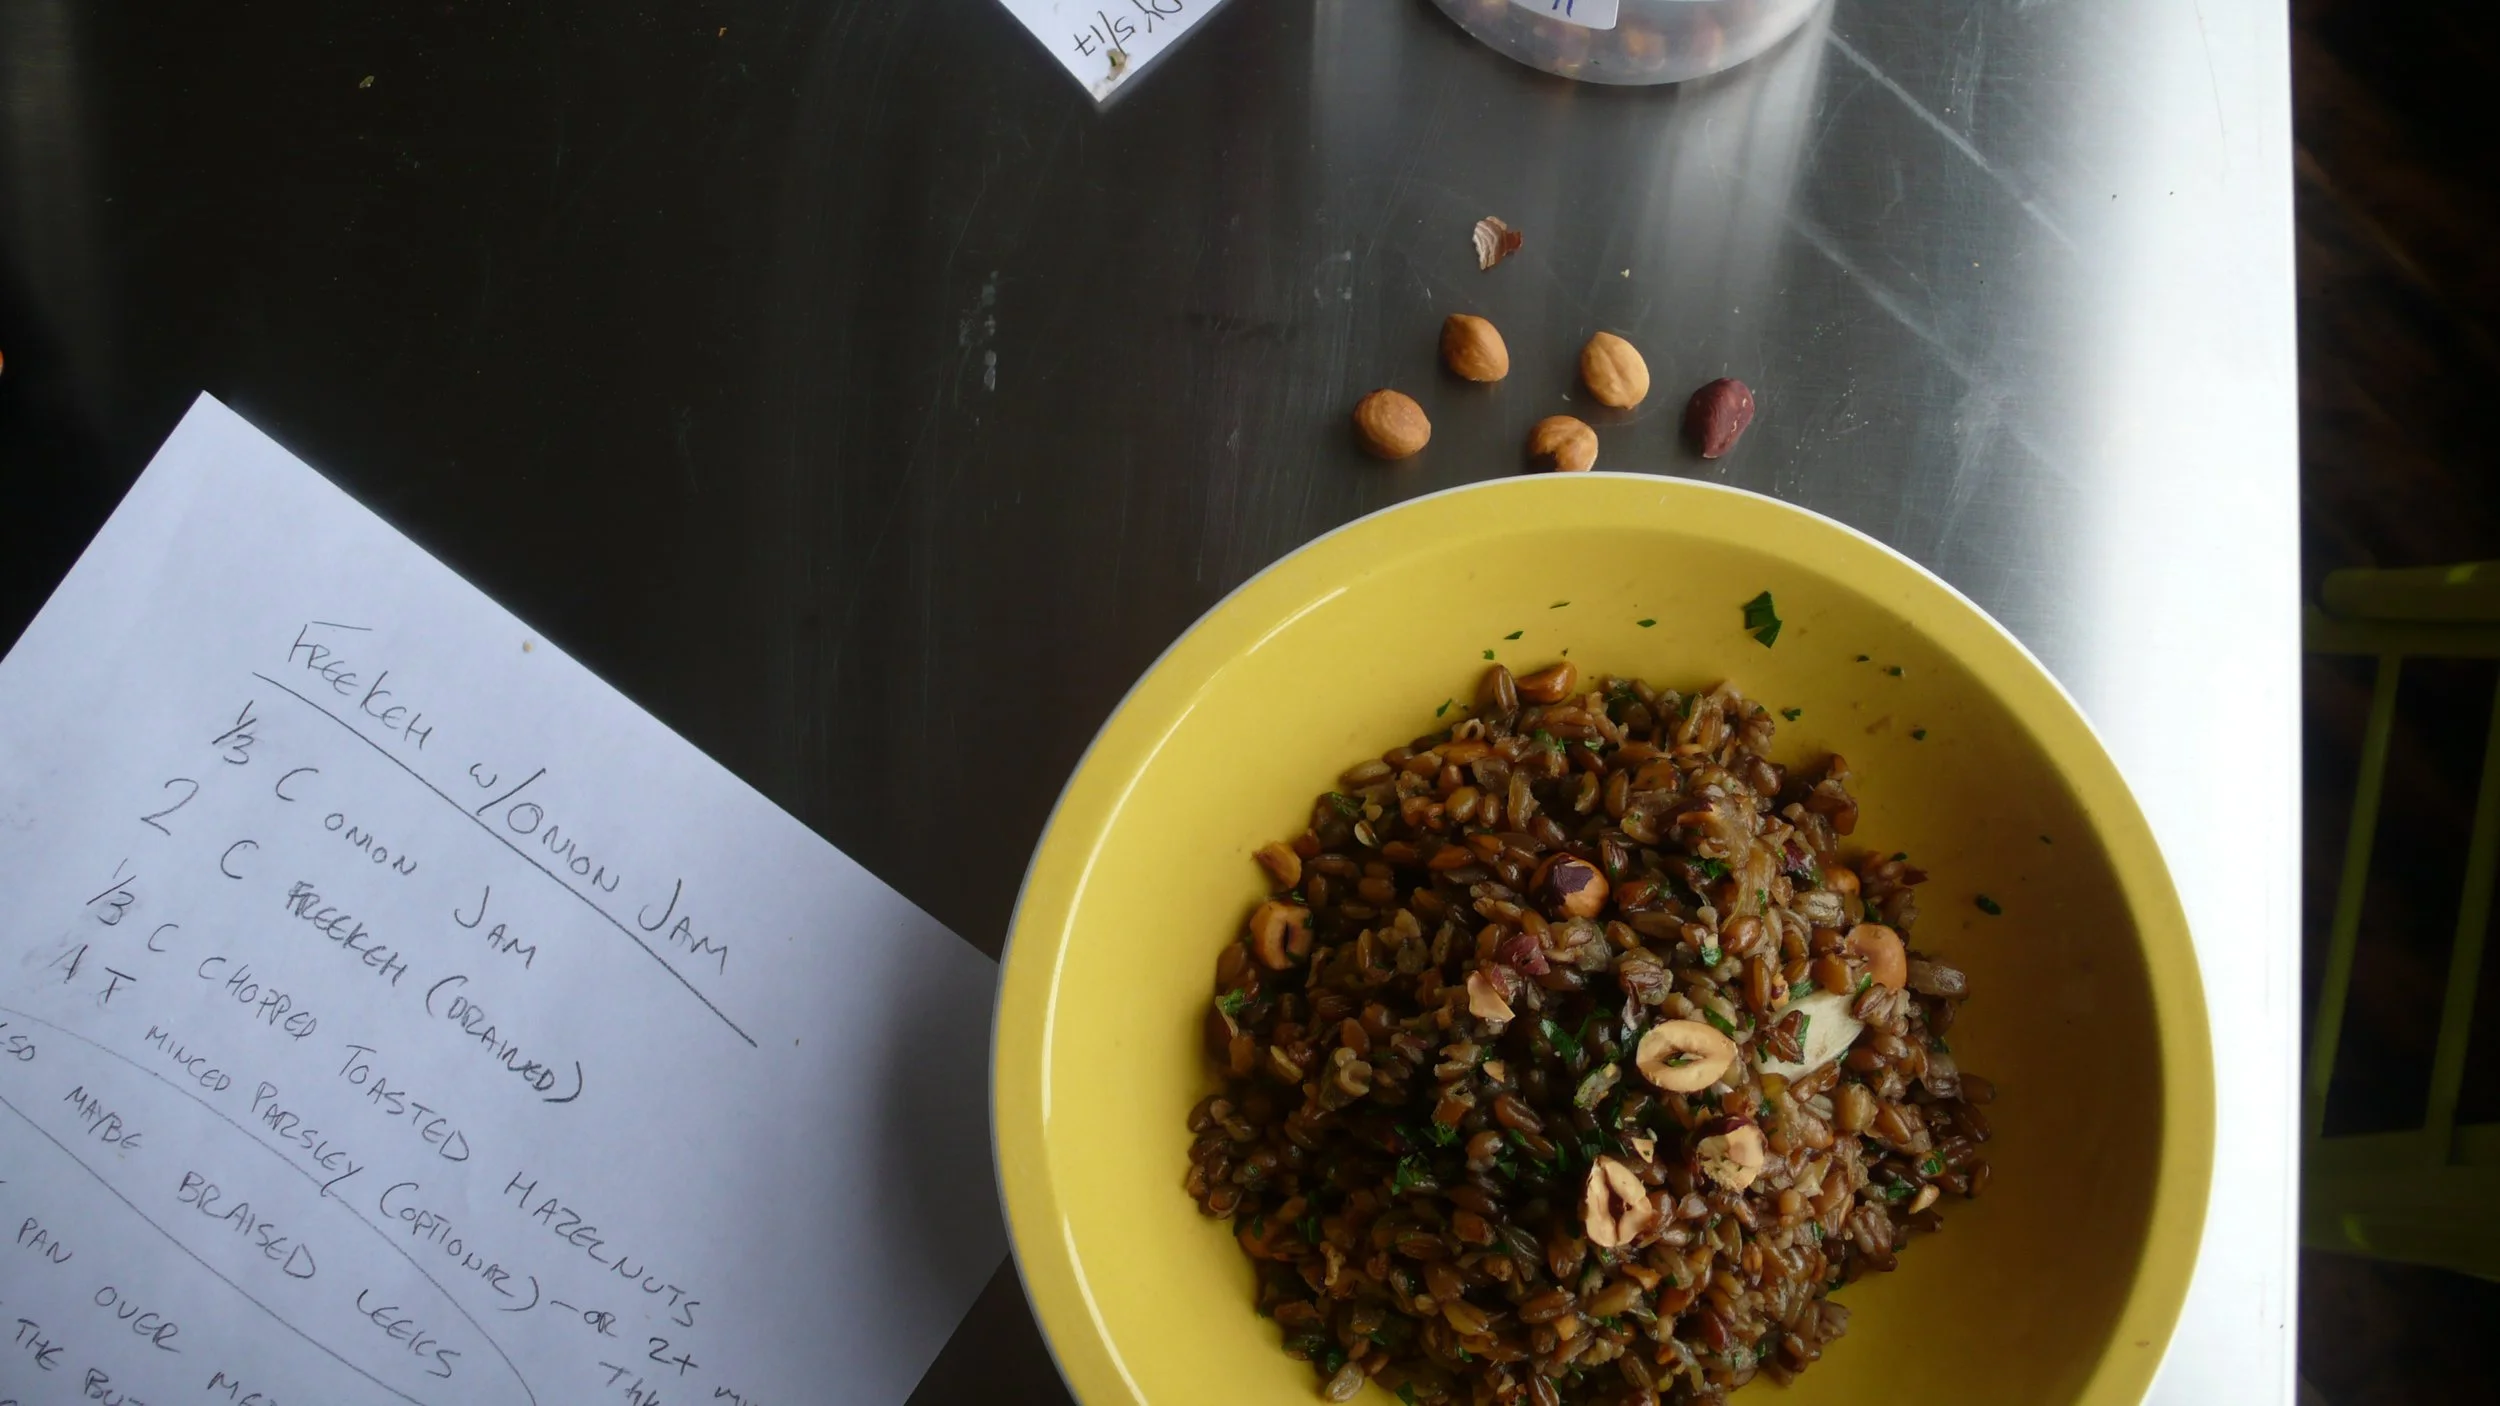
Freekeh with Onion Jam and Spinach
This jam is the royal cousin of griddle diner onions. Balsamic or sherry vinegar, a heavy hand with butter (or excellent olive oil), and good chicken (or vegetable) stock turn a ubiquitous burger topping into a rich, versatile condiment. For years, this was Purple Kale Kitchenworks’ most requested recipe. In The Nimble Cook, I stir it into freekeh, a Mediterranean grain of toasted, green wheat and into Cheese Stock for a soup that tastes like it has been slow-cooking for days.
Don’t rush this jam. Give yourself at least 2 hours to make the it properly. The batch will keep for a few weeks in the refrigerator and longer in the freezer.
Makes 1¼ cups
2 pounds onions (4 or 5 large), peeled and very thinly sliced (about 10 cups)
8 tablespoons (1 stick) unsalted butter
1 cup excellent chicken stock (such as Worth-It Chicken Stock, page 000)
1 tablespoon balsamic vinegar or sherry vinegar
1 tablespoon coarse kosher salt
1 teaspoon sugar
In large, heavy-bottomed pot (such as a Dutch oven), combine the onions and butter over medium heat. Stir continuously until butter melts and onions are well coated. Turn the heat down to low, cover, and cook until onions are completely translucent, at least 15 minutes, stirring frequently. If the onions begin to brown, turn the heat down even lower. Do not rush this step.
Remove the lid and add the stock, vinegar, salt, and sugar. Turn the heat up to medium and stir well.
Cook, uncovered and stirring occasionally, until the onions are a deep nut brown, creamy, and highly aromatic, 1½ to 2 hours. As the onions begin to absorb the liquid, stir more frequently. If they begin to stick to the bottom of the pot, scrape them loose and turn down the heat. (For a more hands-off approach, put the onions into a 300ºF oven after you add the stock, vinegar, salt, and sugar. Increase the cooking time by about 30 minutes. You’ll still need to stir occasionally.)
Cool completely, then use a rubber spatula to scrape every last bit of jam from the pot—do not leave any of the rich liquid behind. Store, covered, in the refrigerator for up to 3 weeks, or in the freezer for up to 6 months. Consider freezing the jam in smaller portions, such as ¼-cup, to add to individual servings of soup. Bring to room temperature or warm the jam to use as a sandwich spread.